Hexo主题-Next
1 主题安装
选用npm管理包的方式
到项目根目录下
1 | |
将来更新主题sudo npm install hexo-theme-next@latest
2 启用主题
修改hexo的配置文件根目录/_config.yml
1 | |
本地运行站点看下效果
1 | |
3 主题配置
下面便是针对主题进行配置
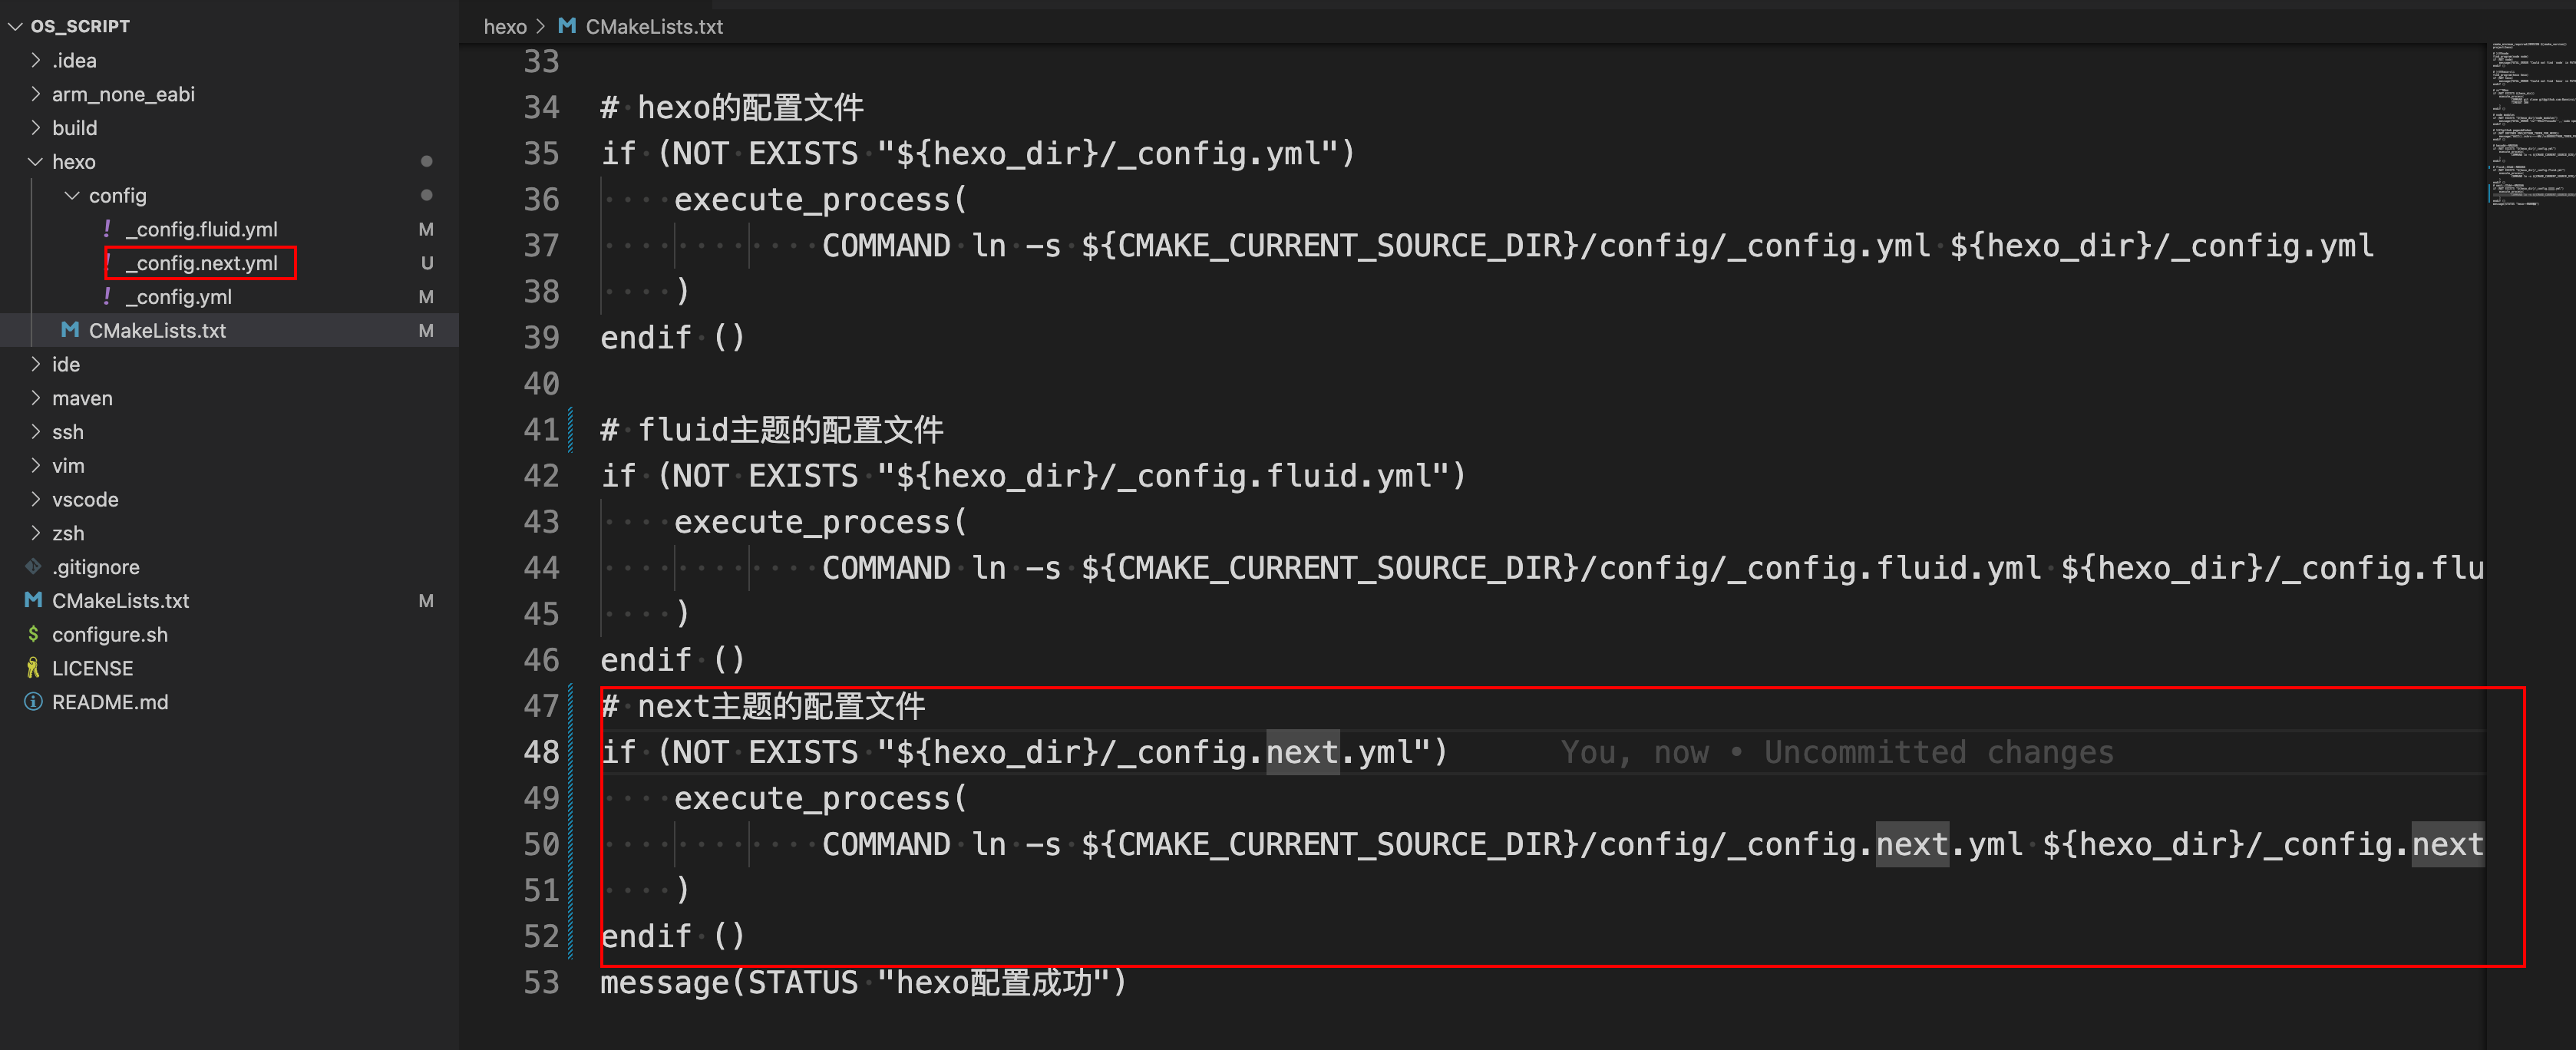
执行如下脚本便可以在博客根目录下建立软链接根目录/_config.next.yml
1 | |
之后便在根目录/_config.next.yml中根据自己的需求进行配置即可
3.1 菜单设置
1 | |
将来通过hexo generate生成静态页面的时候会在public目录下生成对应的index.html,在source目录下默认是没有这几个页面的
/source/home/index.md
/source/home/tags.md
/source/home/categories.md
/source/home/about.md
因此要自己新建对应的页面
1 home
新建
1
hexo new page home内容
1
2
3
4
5---
title: home
date: 2024-03-03 15:05:49
type: home
---
2 tags
新建
1
hexo new page tags内容
1
2
3
4
5---
title: 标签
date: 2024-03-03 14:59:32
type: tags
---
3 categories
新建
1
hexo new page categories内容
1
2
3
4
5---
title: 类别
date: 2024-03-03 14:59:43
type: categories
---4 about
新建
1
hexo new page about内容
1
2
3
4
5
---
title: about
date: 2023-02-27 22:43:06
layout: about
---
Hexo主题-Next
https://bannirui.github.io/2024/03/03/Hexo/Hexo主题-Next/