前文了解了为何redis需要抽象一层内存管理器,以及redis是怎么做的跨平台兼容。
这个章节尝试跟着zmalloc的代码进行逐行学习,整个zmalloc.c源文件700+行,再除去注释和换行等,实际代码规模不大,因此计划以函数为粒度进行解读和学习。
1 ASSERT_NO_SIZE_OVERFLOW
这是一个断言函数,这个函数存在的目的也是为了跨平台兼容。
1 2 3 4 5 6 7 8 9 10 11 12 13 14 15 16 17 18 19 20 21 22 23 24 25 #ifdef HAVE_MALLOC_SIZE #define PREFIX_SIZE (0) #define ASSERT_NO_SIZE_OVERFLOW(sz) #else #if defined(__sun) || defined(__sparc) || defined(__sparc__) #define PREFIX_SIZE (sizeof(long long)) #else #define PREFIX_SIZE (sizeof(size_t)) #endif #define ASSERT_NO_SIZE_OVERFLOW(sz) assert((sz) + PREFIX_SIZE > (sz)) #endif
2 used_memory
redis记录用了OS系统的内存空间大小。
1 2 3 4 5 6 7 8 9 10 11 12 static redisAtomic size_t used_memory = 0 ;
对这个变量的操作无非就是加或者减:
2.1 申请了新内存空间 1 2 #define update_zmalloc_stat_alloc(__n) atomicIncr(used_memory,(__n))
2.2 释放了内存空间 1 2 #define update_zmalloc_stat_free(__n) atomicDecr(used_memory,(__n))
3 内存分配失败处理器 1 2 3 4 5 6 7 8 9 10 11 static void (*zmalloc_oom_handler) (size_t ) = zmalloc_default_oom;static void zmalloc_default_oom (size_t size) {fprintf (stderr , "zmalloc: Out of memory trying to allocate %zu bytes\n" ,stderr );abort ();
如果对默认的处理器不甚满意,则可以对这个函数指针变量进行赋值,按照处理器函数的原型自定义一个函数,之后发生OOM时便可以回调到自定义的处理器。
1 2 3 4 5 6 7 void zmalloc_set_oom_handler (void (*oom_handler)(size_t )) {
4 malloc的封装 4.1 trymalloc_usable
不处理OOM 关注内存块大小
1 2 3 4 5 6 7 8 9 10 11 12 13 14 15 16 17 18 19 20 21 22 23 24 25 26 27 28 29 30 31 32 33 34 35 36 37 38 39 40 41 42 43 44 void *ztrymalloc_usable (size_t size, size_t *usable) {void *ptr = malloc (MALLOC_MIN_SIZE(size)+PREFIX_SIZE);if (!ptr) return NULL ;#ifdef HAVE_MALLOC_SIZE if (usable) *usable = size;return ptr;#else size_t *)ptr) = size;if (usable) *usable = size;return (char *)ptr+PREFIX_SIZE;#endif
4.2 zmalloc_usable
处理OOM 关注内存块大小
1 2 3 4 5 6 7 8 9 10 void *zmalloc_usable (size_t size, size_t *usable) {void *ptr = ztrymalloc_usable(size, usable);if (!ptr) zmalloc_oom_handler(size);return ptr;
4.3 ztry_malloc
不处理OOM 不关注内存块大小
1 2 3 4 5 6 7 8 9 void *ztrymalloc (size_t size) {void *ptr = ztrymalloc_usable(size, NULL );return ptr;
4.4 zmalloc
处理OOM 关注内存块大小
1 2 3 4 5 6 7 8 9 10 11 void *zmalloc (size_t size) {void *ptr = ztrymalloc_usable(size, NULL );if (!ptr) zmalloc_oom_handler(size);return ptr;
如上,其实就是统一对malloc的封装,按照场景需求分为两类
那么二者组合情况就有4种
处理OOM 关注内存块 则不带try带usable
处理OOM 不关注内存块 则不带try不带usable
不处理OOM 关注内存块 则带try带usable
不处理OOM 不关注内存块 则带try不带usable
5 malloc系列
根据上述的命名方式,结合malloc、calloc、realloc三者之间的区别,其他的函数基本不用看也知道该怎么封装了。
malloc
处理OOM
不处理OOM
关注内存块大小
zmalloc_usable
ztrymalloc_usable
不关注内存块大小
zmalloc
ztrymalloc
calloc
处理OOM
不处理OOM
关注内存块大小
zcalloc_usable
ztrycalloc_usable
不关注内存块大小
zcalloc
ztrycalloc
realloc
处理OOM
不处理OOM
关注内存块大小
zrealloc
ztryrealloc_usable
不关注内存块大小
zrealloc_usable
ztryrealloc
6 zfree的封装 6.1 zfree 1 2 3 4 5 6 7 8 9 10 11 12 13 14 15 16 17 18 19 20 21 22 23 24 25 26 27 28 29 30 31 void zfree (void *ptr) {#ifndef HAVE_MALLOC_SIZE void *realptr;size_t oldsize;#endif if (ptr == NULL ) return ;#ifdef HAVE_MALLOC_SIZE free (ptr);#else char *)ptr-PREFIX_SIZE;size_t *)realptr);free (realptr);#endif
对于PREFIX_SIZE机制,可以借助下图来理解:
比如我们作为用户进程向OS申请了sz大小的内存
先看红色字体,从OS视角来看 实际分配的内存块比sz更大。这个内存块的起始地址是real,因为要记录一些元信息,因此给到我们的是use的起始地址。
再从用户视角来看,我们以为这个内存地址就是从use开始的,并且真个分配到的内存只有sz,起始可能可用的比sz还要大一点。
其次再看蓝色字体,就是在redis层面模拟OS的这样机制,我们也额外负担一点内存空间来模拟存储内存块大小。
我觉得这样用一点空间换取来的是api和算法的统一,也让维护的内存使用量具有实际意义。
6.2 zfree_usable 1 2 3 4 5 6 7 8 9 10 11 12 13 14 15 16 17 18 19 void zfree_usable (void *ptr, size_t *usable) {#ifndef HAVE_MALLOC_SIZE void *realptr;size_t oldsize;#endif if (ptr == NULL ) return ;#ifdef HAVE_MALLOC_SIZE free (ptr);#else char *)ptr-PREFIX_SIZE;size_t *)realptr);free (realptr);#endif
7 zstrdup 1 2 3 4 5 6 7 8 9 10 11 12 char *zstrdup (const char *s) {size_t l = strlen (s)+1 ;char *p = zmalloc(l);memcpy (p,s,l);return p;
8 zmalloc_used_memory 1 2 3 4 5 6 7 size_t zmalloc_used_memory (void ) {size_t um;return um;
上面提到过redis自己在服务端维护了变量used_memory,其约等于OS系统实际分配的内存空间。
现在要获取redis进程在OS系统中驻留的内存空间,系统给进程分配了内存之后,为了使用效率提升,可能会将一部分不常使用的空间放到swap交换区去,那么物理内存的驻留空间实际是减少的,可以提升内存的使用效率。
RSS=Resident Set Size
从描述也可以看得出来,RSS的获取依赖各个系统的实现,因此redis就要进行跨平台的封装。
因为我常用的系统只有mac和linux,所以这两个平台上的实现方式可以跟到函数详细研究,其他平台就粗略看一下。
9.1 linux 在正式看redis的函数之前,回忆一些常用操作和知识作为铺垫。
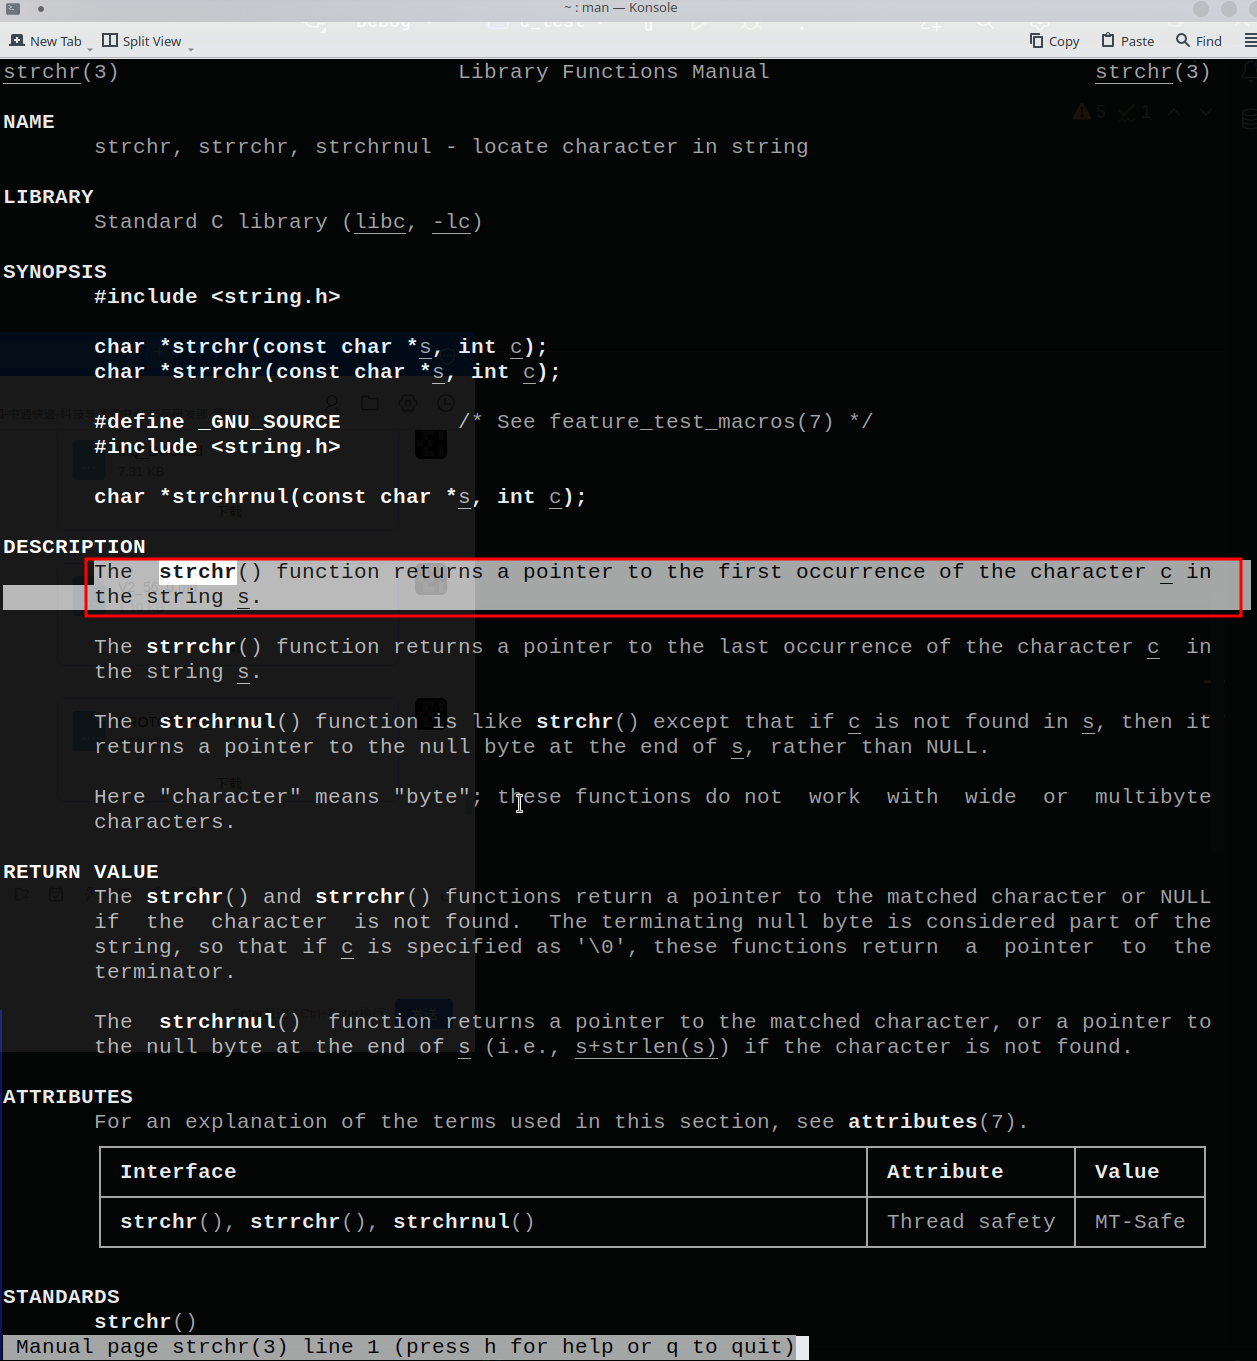
9.1.1 strchr(…) 这个函数就是给定一个字符串,给定一个目标字符,函数会找到在这个字符串中第一次出现目标字符的地方。
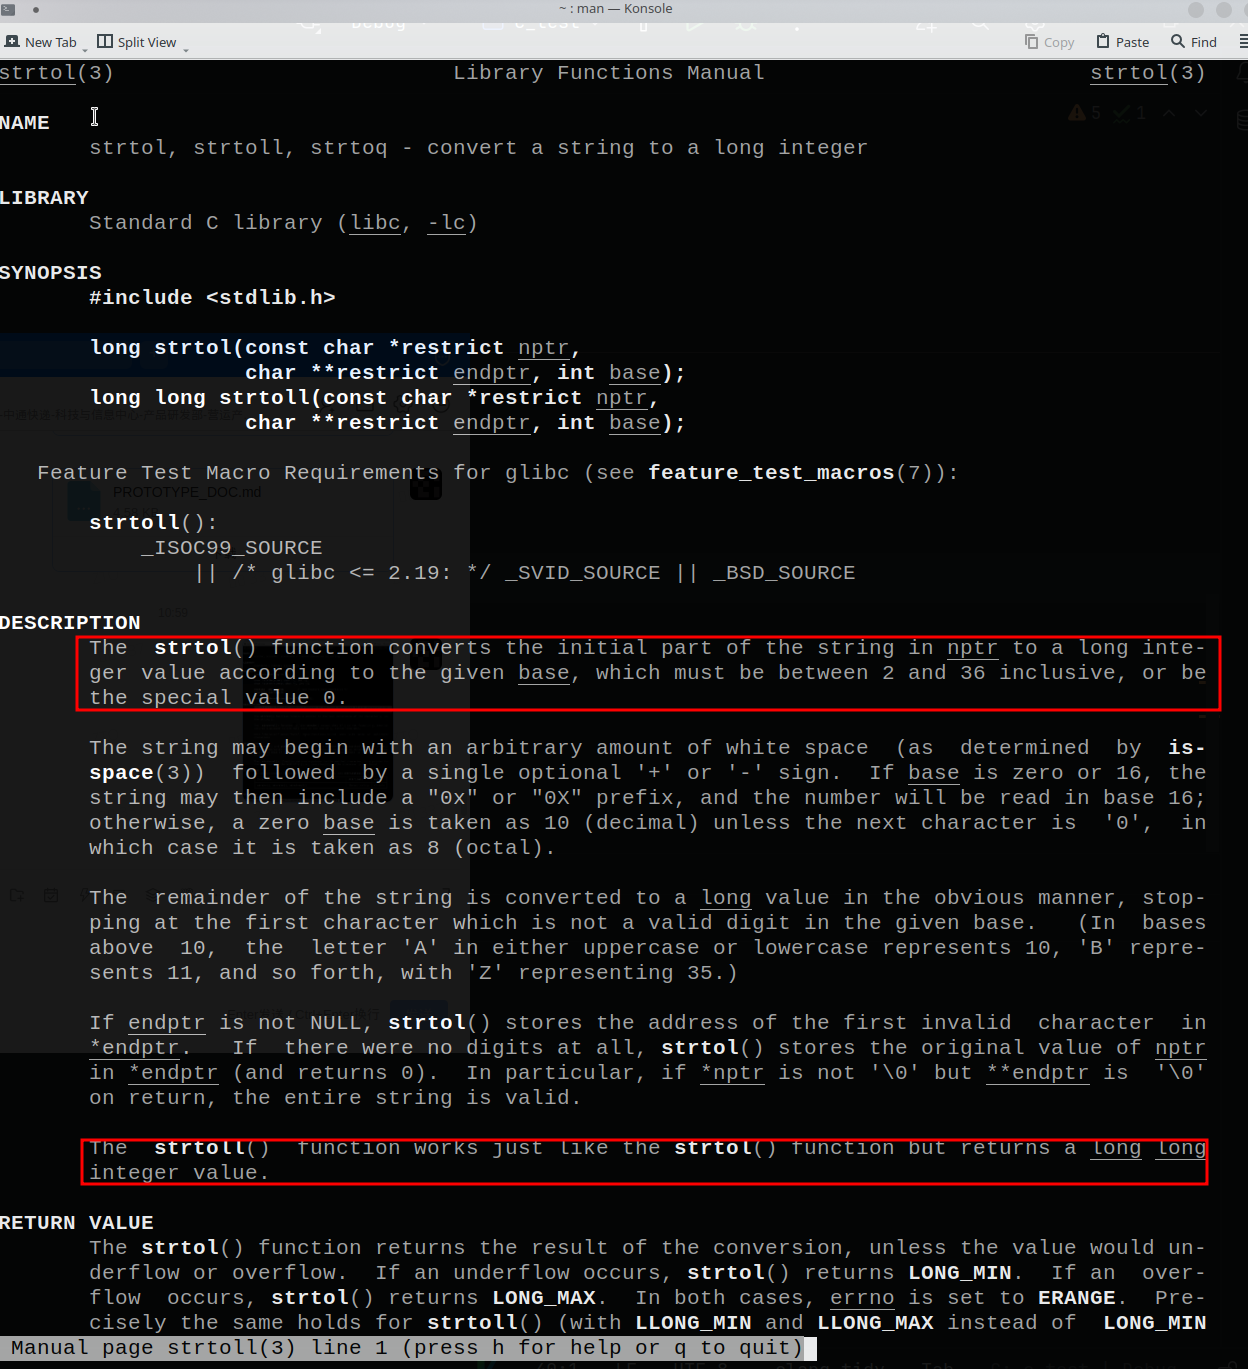
9.1.2 strtol系列函数 将字符串形式的数字转换成指定进制表达的整数形式。
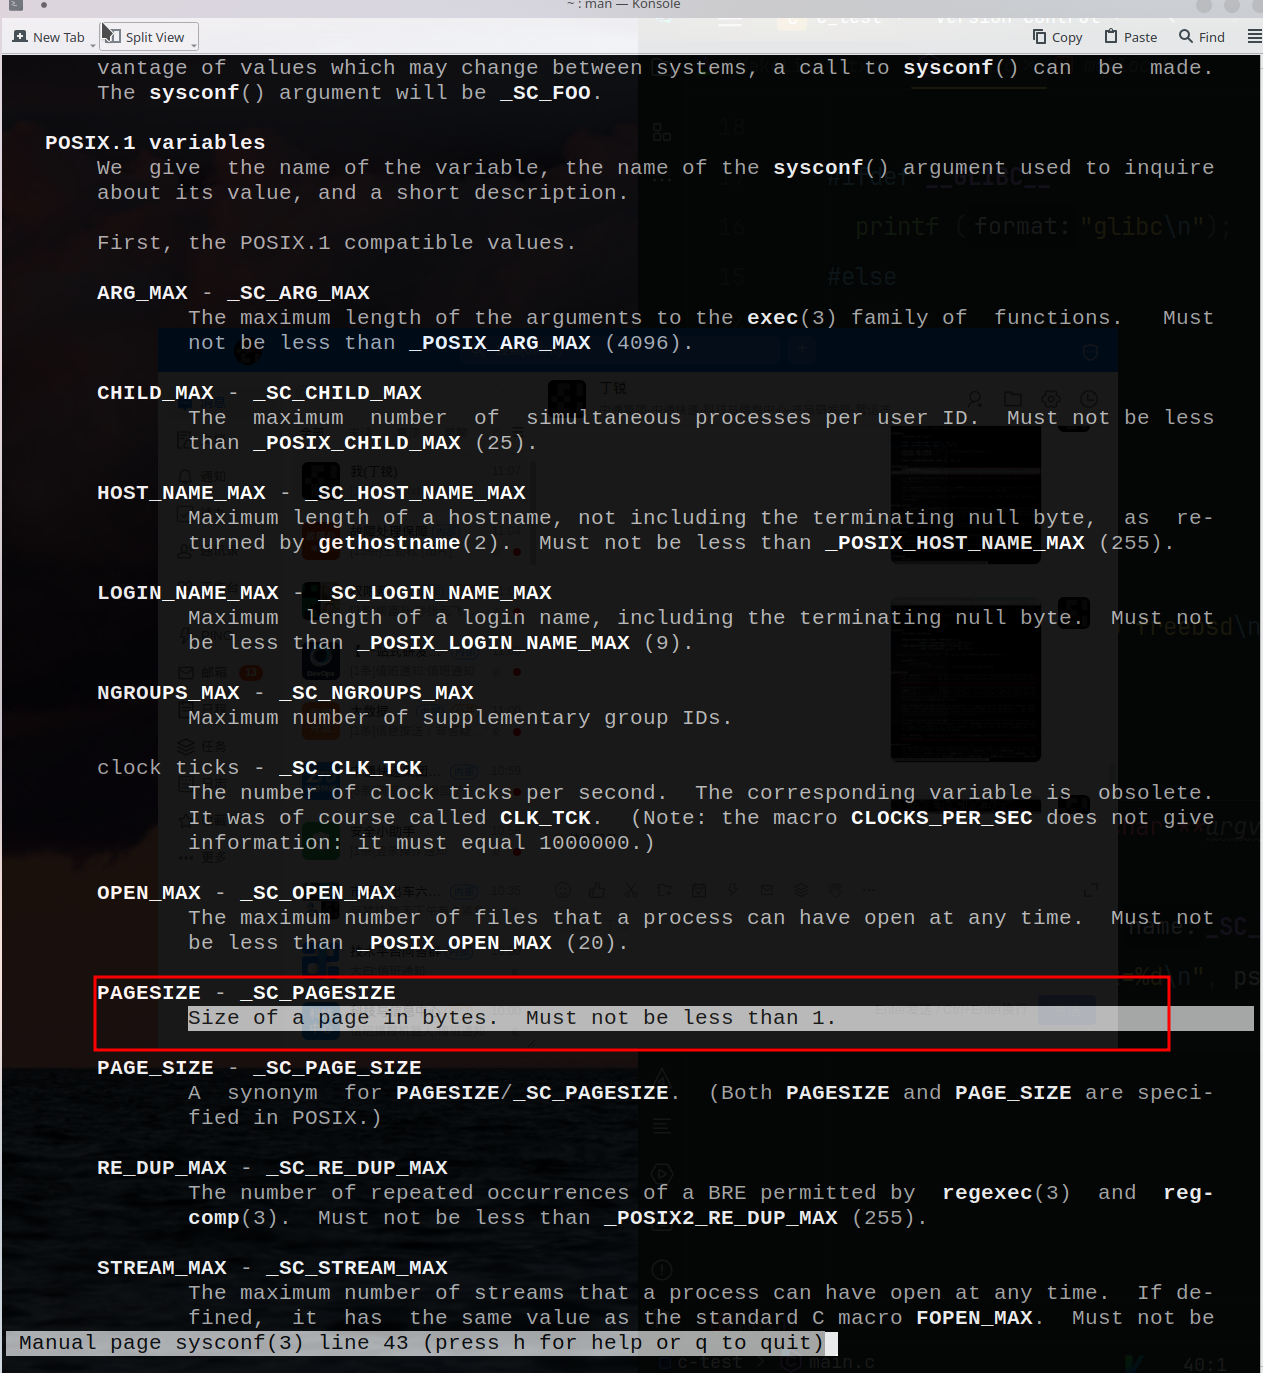
9.1.3 sysconf(…) 系统进程的运行时信息sysconf(_SC_PAGESIZE)就是获取到内存页的一页有多少byte,比如一页4k就是4096byte。
Redis-0x07-linux系统proc虚拟文件系统
至此,我们再来看redis中如何获取rss的,就会十分轻松。
1 2 3 4 5 #ifdef __linux__ #define HAVE_PROC_STAT 1
1 2 3 4 5 6 7 8 9 10 11 12 13 14 15 16 17 18 19 20 21 22 23 24 25 26 27 28 29 30 31 32 33 34 35 36 37 38 39 40 41 42 43 44 45 46 47 48 49 #if defined(HAVE_PROC_STAT) #include <sys/types.h> #include <sys/stat.h> #include <fcntl.h> size_t zmalloc_get_rss (void ) {int page = sysconf(_SC_PAGESIZE);size_t rss;char buf[4096 ];char filename[256 ];int fd, count;char *p, *x;snprintf (filename,256 ,"/proc/%ld/stat" ,(long ) getpid());if ((fd = open(filename,O_RDONLY)) == -1 ) return 0 ;if (read(fd,buf,4096 ) <= 0 ) {return 0 ;23 ; while (p && count--) {strchr (p,' ' );if (p) p++;if (!p) return 0 ;strchr (p,' ' );if (!x) return 0 ;'\0' ;NULL ,10 );return rss;
9.2 mac 1 2 3 4 5 6 7 8 9 10 11 12 13 14 15 16 17 18 #elif defined(HAVE_TASKINFO) #include <sys/types.h> #include <sys/sysctl.h> #include <mach/task.h> #include <mach/mach_init.h> size_t zmalloc_get_rss (void ) {task_t task = MACH_PORT_NULL;struct task_basic_info t_info ;mach_msg_type_number_t t_info_count = TASK_BASIC_INFO_COUNT;if (task_for_pid(current_task(), getpid(), &task) != KERN_SUCCESS)return 0 ;task_info_t )&t_info, &t_info_count);return t_info.resident_size;
10 zmalloc_get_allocator_info 这个函数特定的功能相当于是jemalloc提供的特定场景支持,因此当内存分配器不是指定的jemalloc时候,这个功能会被阉割掉。
10.1 有jemalloc的环境 涉及到jemalloc系列函数,先看一下redis是如何整合jemalloc到项目中的
Redis-0x08-如何将jemalloc编译到项目中
1 2 3 4 5 6 7 8 9 10 11 12 13 14 15 16 17 18 19 20 21 22 23 24 25 26 27 28 29 int zmalloc_get_allocator_info (size_t *allocated, size_t *active, size_t *resident) {uint64_t epoch = 1 ;size_t sz;0 ;sizeof (epoch);"epoch" , &epoch, &sz, &epoch, sz);sizeof (size_t );"stats.resident" , resident, &sz, NULL , 0 );"stats.active" , active, &sz, NULL , 0 );"stats.allocated" , allocated, &sz, NULL , 0 );return 1 ;
10.2 没有jemalloc的环境 1 2 3 4 5 6 7 8 9 10 11 12 13 14 15 #else int zmalloc_get_allocator_info (size_t *allocated, size_t *active, size_t *resident) {0 ;return 1 ;
11 set_jemalloc_bg_thread 这个函数同样依赖jemalloc的mallctl支持。
11.1 有jemalloc的环境 1 2 3 4 5 6 void set_jemalloc_bg_thread (int enable) {char val = !!enable;"background_thread" , NULL , 0 , &val, 1 );
11.2 没有jemalloc的环境 1 2 3 4 void set_jemalloc_bg_thread (int enable) {void )(enable));
12 jemalloc_purge 这个函数同样依赖jemalloc的mallctl支持。
11.1 有jemalloc的环境 1 2 3 4 5 6 7 8 9 10 11 12 13 int jemalloc_purge () {char tmp[32 ];unsigned narenas = 0 ;size_t sz = sizeof (unsigned );if (!je_mallctl("arenas.narenas" , &narenas, &sz, NULL , 0 )) {sprintf (tmp, "arena.%d.purge" , narenas);if (!je_mallctl(tmp, NULL , 0 , NULL , 0 ))return 0 ;return -1 ;
11.2 没有jemalloc的环境 1 2 3 4 int jemalloc_purge () {return 0 ;
13 zmalloc_get_private_dirty 本质是对zmalloc_get_smap_bytes_by_field的调用,而zmalloc_get_smap_bytes_by_field需要依赖OS的系统调用,这个地方redis并没有对全平台做兼容实现,只关注了linux和mac。
同之前的RSS指标采集一样:
linux系统的指标从proc虚拟文件系统采集
mac系统的指标依赖mach微内核的系统调用
13.1 mac系统 1 2 3 4 5 6 7 8 9 10 11 12 13 14 15 16 17 18 19 20 21 22 23 24 25 26 27 28 29 30 31 32 33 34 35 36 37 38 39 size_t zmalloc_get_smap_bytes_by_field (char *field, long pid) {#if defined(__APPLE__) struct proc_regioninfo pri ;if (pid == -1 ) pid = getpid();if (proc_pidinfo(pid, PROC_PIDREGIONINFO, 0 , &pri,int pagesize = getpagesize();if (!strcmp (field, "Private_Dirty:" )) {return (size_t )pri.pri_pages_dirtied * pagesize;else if (!strcmp (field, "Rss:" )) {return (size_t )pri.pri_pages_resident * pagesize;else if (!strcmp (field, "AnonHugePages:" )) {return 0 ;return 0 ;#endif void ) field);void ) pid);return 0 ;#endif
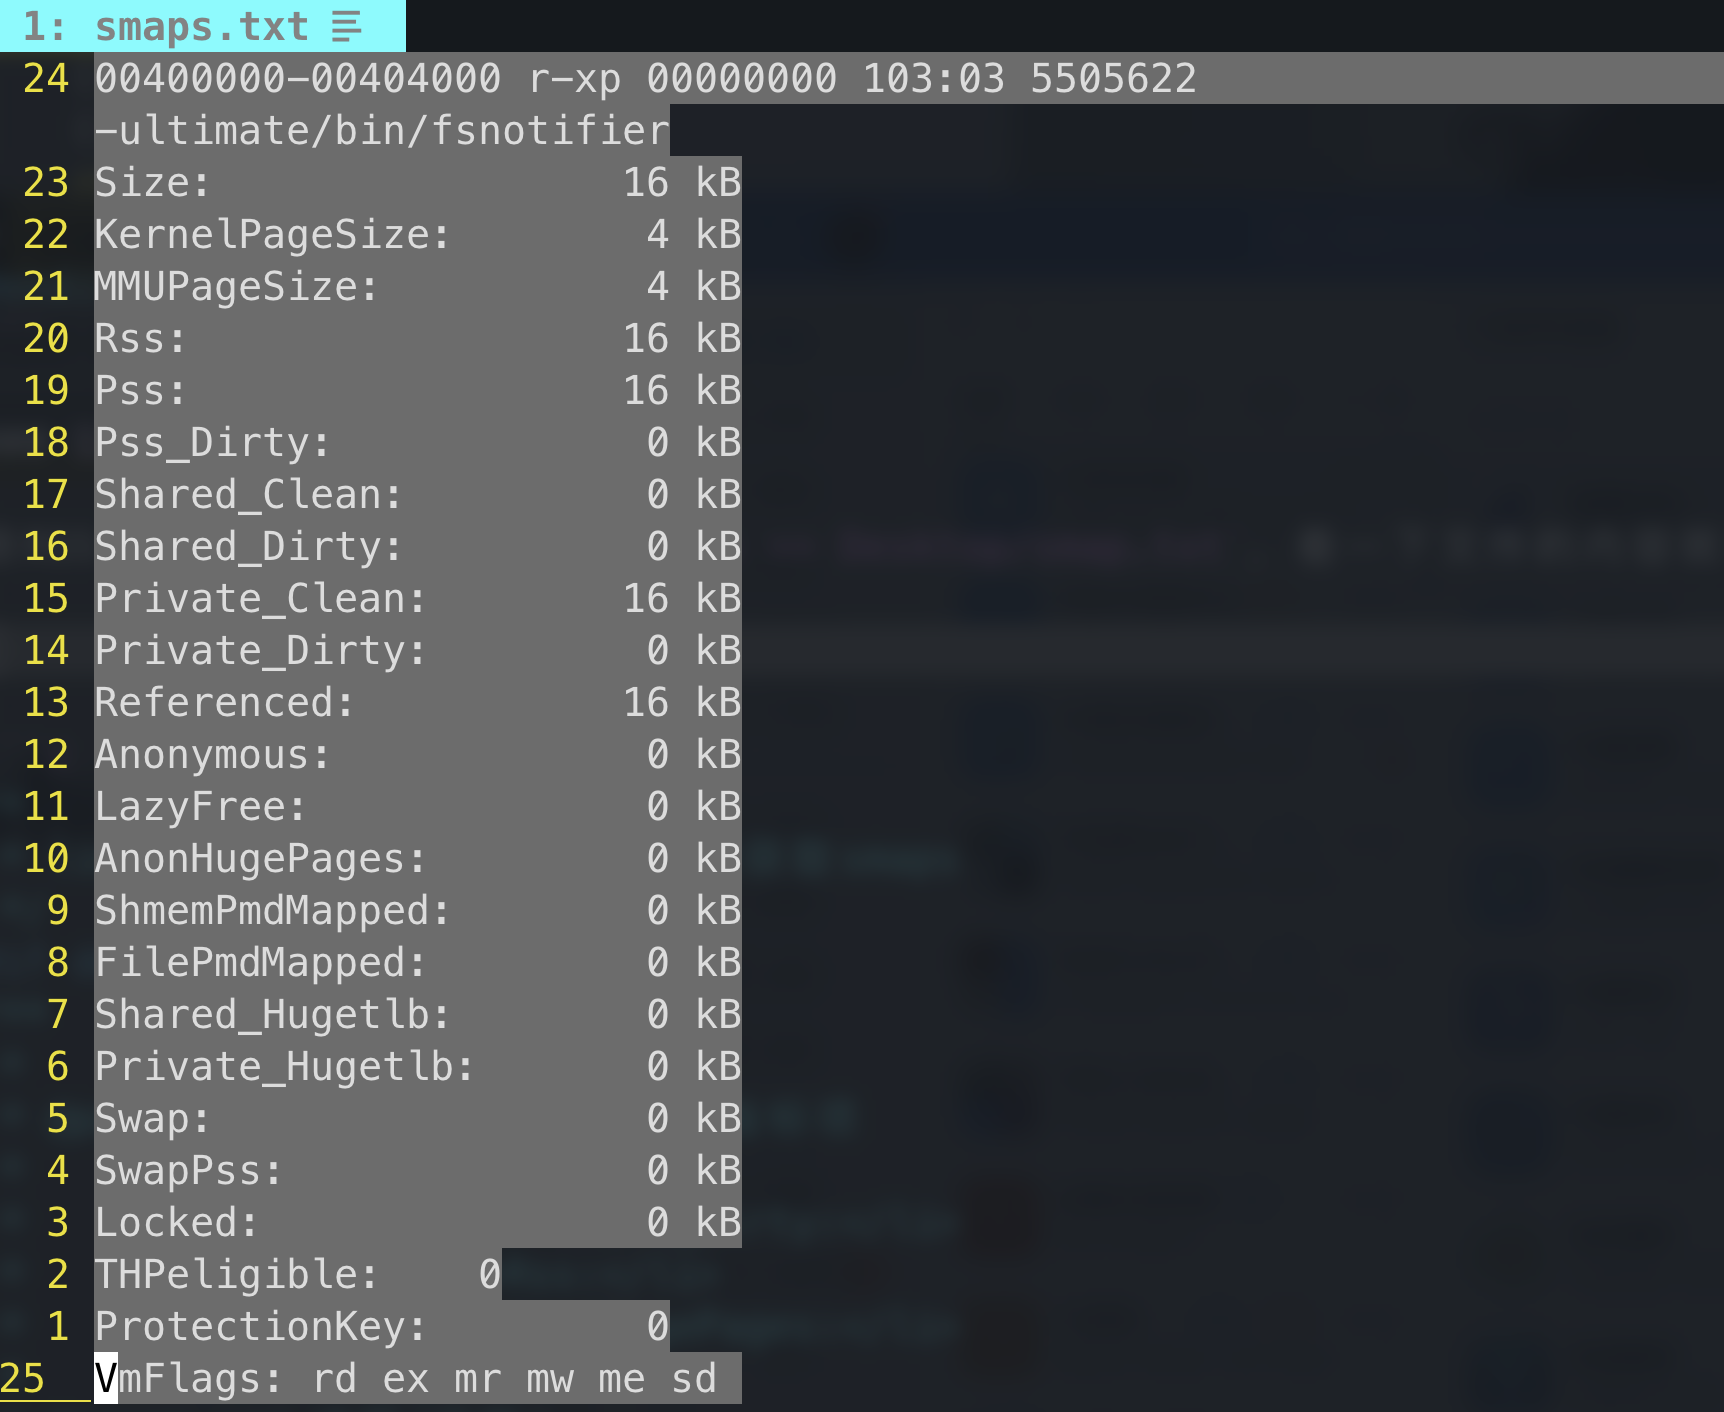
13.2 linux系统 跟RSS一样,cat /proc/4649/smaps >> Desktop/smap.txt,看一下文件的内容就可以非常简易地了解代码的实现。
1 2 3 4 5 6 7 8 9 10 11 12 13 14 15 16 17 18 19 20 21 22 23 24 25 26 27 28 29 30 31 32 33 34 35 36 37 38 39 40 41 42 43 44 45 46 47 48 49 50 51 52 53 54 55 56 57 58 59 60 #if defined(HAVE_PROC_SMAPS) size_t zmalloc_get_smap_bytes_by_field (char *field, long pid) {char line[1024 ];size_t bytes = 0 ;int flen = strlen (field);if (pid == -1 ) {"/proc/self/smaps" ,"r" );else {char filename[128 ];snprintf (filename,sizeof (filename),"/proc/%ld/smaps" ,pid);"r" );if (!fp) return 0 ;while (fgets(line,sizeof (line),fp) != NULL ) {if (strncmp (line,field,flen) == 0 ) {char *p = strchr (line,'k' );if (p) {'\0' ;NULL ,10 ) * 1024 ;return bytes;


